Integrate Demandbase
Integrate Optimizely Web Experimentation with Demandbase to create targeted B2B audiences and deliver personalized content
NoteThis is a third-party integration and is not an Optimizely subprocessor. See Optimizely's Third-Party Add-Ons & Platform Integration Terms.
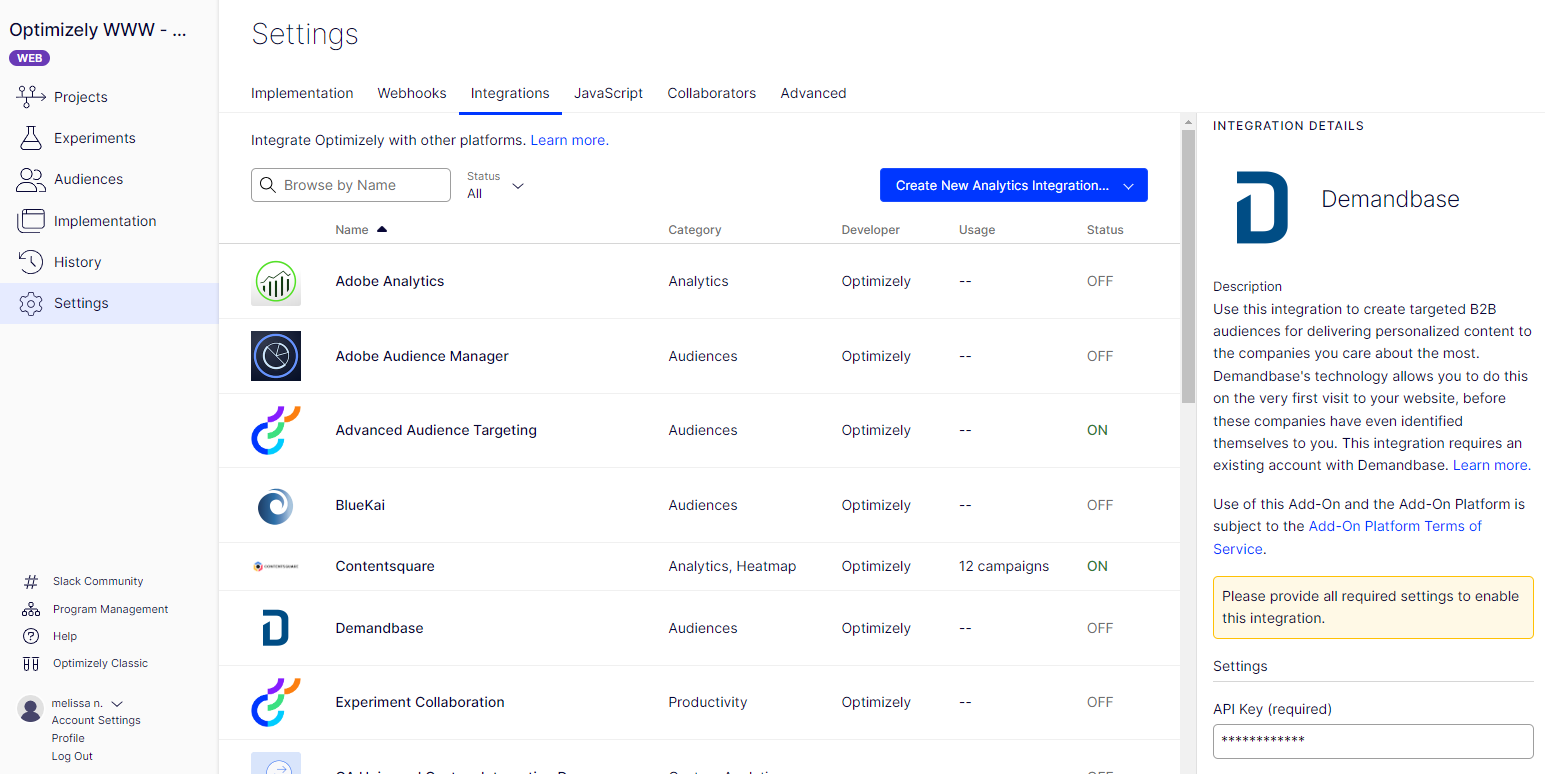
Enable Demandbase in Optimizely
To enable the integration, complete the following steps:
-
Enter the required API key, which your Demandbase Customer Success Manager can provide.
-
Click Save.
With the Demandbase integration enabled, Optimizely deploys the Demandbase tag and fetches visitor data from Demandbase for each pageview.
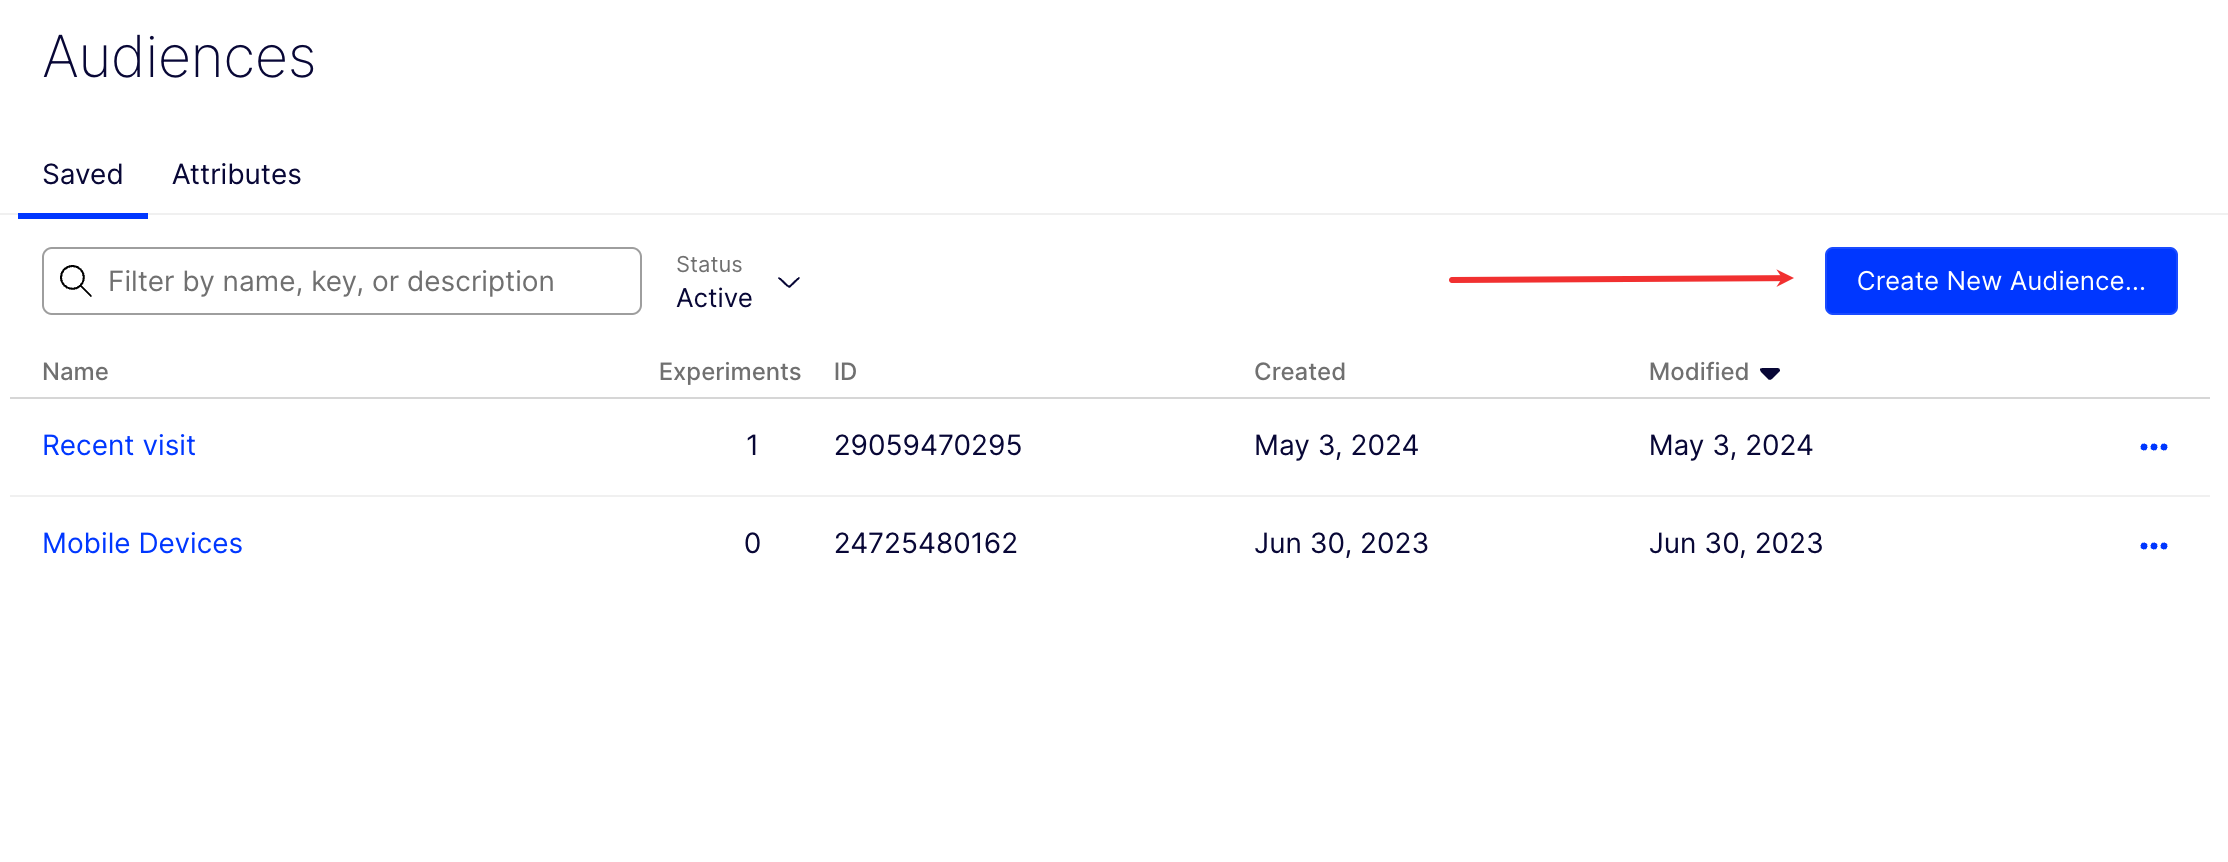
Create an audience
Create an audience in Optimizely based on company information in Demandbase, or add Demandbase conditions to an existing audience.
-
Go to the Audiences > Create New Audience.
-
Click Demandbase to see a full list of targeting conditions. Hover over the question mark to see a description.
-
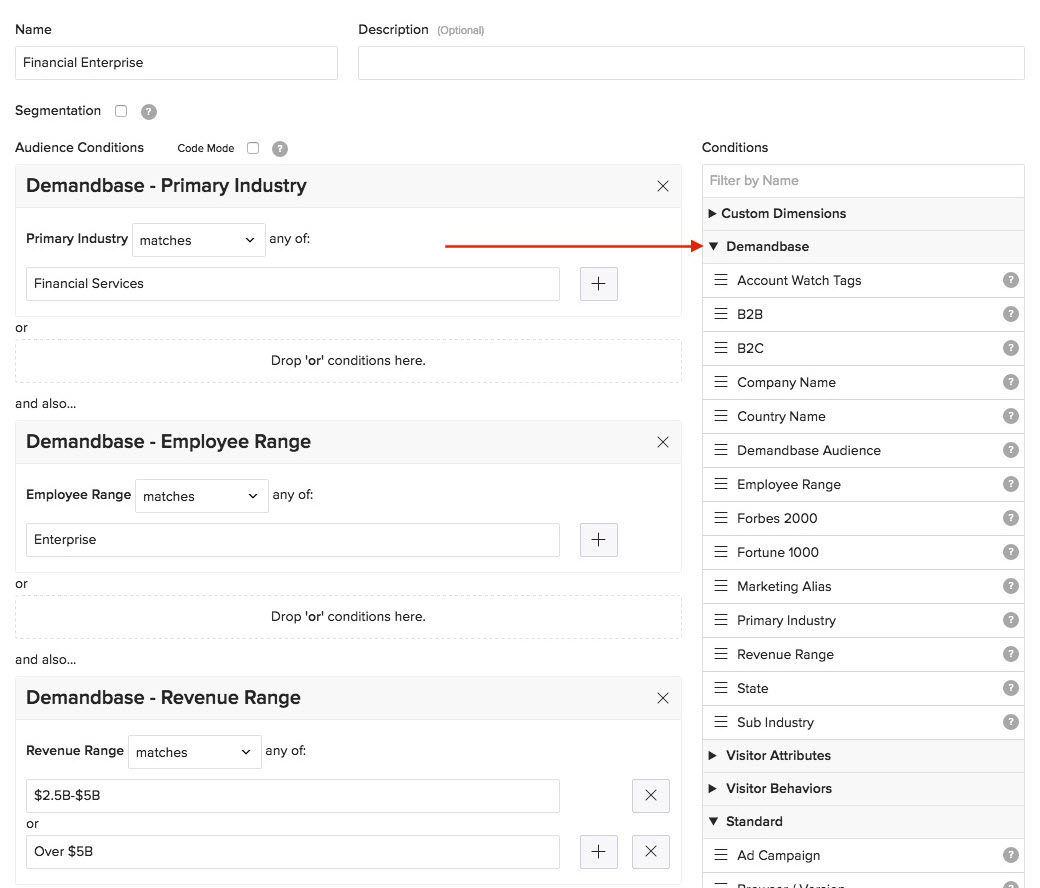
Drag a condition to select and complete the open fields. You may want to work with your Demandbase Customer Success Manager on the exact formatting for different fields.
-
Click Save Audience.
The following is an example of an audience with the following conditions:
Industry – Financial Services
Employee Range – Enterprise
Revenue Range – $2.5B - $5B OR Over $5B

Activation on first page visit
This integration works by asynchronously loading company data from Demandbase as the page is rendering and storing the data in the visitor's browser. This means that experiments trigger only when the visitor returns to the page on their second-page visit or later.
If you want to trigger an experiment on the first-page visit, you can tell Optimizely to wait for company data from Demandbase to load using conditional activation.
In Optimizely, activation modes are set at the page level.
- Create or edit a page, and set your page's activation mode to Callback.
- Copy the following code (which makes sure that the experiment activates only after visitor data from Demandbase is available) and paste it into the Callback Function text box:
function callbackFn(activate, options) {
  // Interval in ms for polling Demandbase visitor data
  var POLL\_INTERVAL = 50;
  // Max number of poll attempts
  var MAX\_POLL\_COUNT = 5;
  var pollCount = 0;
  function poll() {
    pollCount++;
    if (window.optimizely &&
        window.optimizely.get('visitor') &&
        optimizely.get('visitor')\['vendor.demandbase'\] &&
        !options.isActive) {
      activate();
    } else if (pollCount \< MAX\_POLL\_COUNT) {
      setTimeout(poll, POLL\_INTERVAL);
    }
  }
  poll();
}
NoteConditional activation means that the experiment may trigger after all the content on the page has loaded, thus causing flicker. If you want to prevent the experiment from triggering after a certain timeout, you can edit the
POLL_INTERVALandMAX_POLL_COUNTin the conditional activation code above.For example, the current poll interval of 50 and max polls of 5 ensures that Optimizely does not trigger the experiment after more than 200ms.
Updated about 1 month ago