Capture Shopify checkout events
Configure a Shopify custom pixel to track checkout_started and checkout_completed events as conversion metrics in Optimizely Web Experimentation.
Capture Shopify checkout events and send them to Optimizely Web Experimentation as conversion metrics. You cannot inject the Optimizely snippet directly into Shopify's checkout flow, so subscribe to Shopify's native checkout events through a custom pixel and forward them to Optimizely instead. Use this integration to measure checkout-funnel performance in your Web Experimentation experiments.
Prerequisites
Before you begin, confirm you have the following:
- Admin access to your Shopify store.
- An Optimizely Web Experimentation project with the snippet ID available.
- A Shopify development store for testing (recommended).
Shopify checkout events
The integration subscribes to two Shopify analytics events that mark the start and end of the checkout funnel:
checkout_started– Fires when the shopper begins the checkout process.checkout_completed– Fires when the shopper completes the purchase.
Map these events to Optimizely events such as optly_begin_checkout and optly_purchase. Use the Optimizely events as primary or secondary metrics in your experiments.
When a subscribed event fires, the handler loads the Optimizely snippet and initializes the Optimizely object. The handler then pushes the event to Optimizely. Optimizely sends the event data through a standard network call, just as the snippet does on regular pages.
Configure the custom pixel
Add a custom pixel in your Shopify admin to subscribe to checkout events and forward them to Optimizely.
-
Click Settings in your Shopify admin.
-
Click Customer events.
-
Click Add custom pixel.
-
Enter a descriptive name for the pixel.
-
Click Add pixel.
-
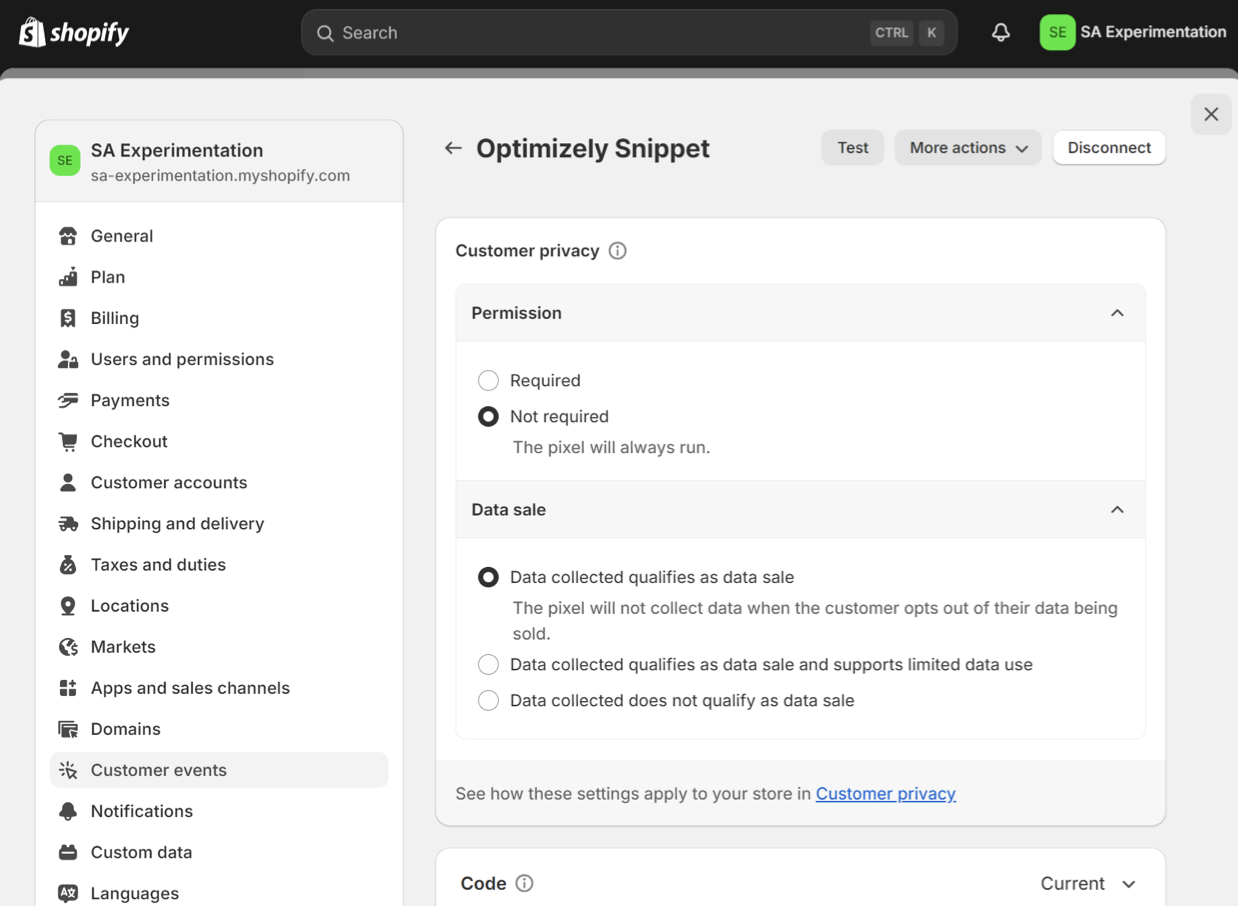
Configure the Permission and Data sale settings to match your site's privacy policies. When Permission is required, the pixel fires only for visitors who consent through your privacy banner.
-
Paste the following code into the Code field:
function loadOptimizely(callback) { // Check if Optimizely is already loaded if (window.optimizely) { callback(); return; } // Create a new script element to load the Optimizely snippet var script = document.createElement("script"); // Replace with your Optimizely snippet ID script.src = "https://cdn.optimizely.com/js/SNIPPET_ID.js"; script.onload = function () { window.optimizely = window.optimizely || []; callback(); }; script.onerror = function () { console.error("Failed to load Optimizely script"); }; document.head.appendChild(script); } // Subscribe to the 'checkout_started' event in Shopify analytics.subscribe("checkout_started", async (event) => { loadOptimizely(function () { window.optimizely = window.optimizely || []; window.optimizely.push({ type: "event", eventName: "optly_begin_checkout", }); }); }); // Subscribe to the 'checkout_completed' event in Shopify analytics.subscribe("checkout_completed", (event) => { loadOptimizely(function () { const revenue = event.data.checkout.totalPrice.amount * 100; window.optimizely = window.optimizely || []; window.optimizely.push({ type: "event", eventName: "optly_purchase", tags: { revenue: revenue, value: event.data.checkout.totalPrice.amount, }, }); }); }); -
Replace
SNIPPET_IDin the script URL with your Optimizely project's snippet ID. -
Replace
optly_begin_checkoutandoptly_purchasewith the API Name of the corresponding event in your Optimizely project. The API Name is the identifier set when the event is created. It differs from the event's display name. -
Click Save.
-
Click Connect.
-
Click Connect in the confirmation dialog to link the pixel to your store.
Test the integration
Verify that the events fire correctly and reach Optimizely before you rely on the data in a production experiment.
- Open your Shopify development store.
- Start a checkout.
- Open the browser developer tools.
- Confirm that the Optimizely snippet loads.
- Confirm that
optly_begin_checkoutfires when checkout starts. - Confirm that
optly_purchasefires with the revenue tag when the order completes. - In Web Experimentation, confirm that the events are received and available as metrics.
Related resources
- Shopify Web Pixels API standard events – Reference for the events available in a Shopify custom pixel.
- Use a CMS or ecommerce platform with Optimizely snippet – Add the Optimizely snippet to your Shopify storefront pages.