Host a frontend with Optimizely
Use Optimizely to build and host your NextJS site front end with an Optimizely back end for CMS (SaaS).
Optimizely CMS (SaaS) is a headless system, so you must develop and host the frontend application separately. You can host the frontend with Optimizely DXP and connect it to your CMS (SaaS) instance to enable Visual Builder previews.
You can use Optimizely to build and host your NextJS site's frontend with an Optimizely backend for Optimizely Content Management System (SaaS and CMS 12).
Supported rendering modes with NextJS are Static Site Generation (SSG), Server Side Rendering (SSR), and Incremental Static Regeneration (ISR). Support for other frameworks besides NextJS will be added in the future.
You should use Optimizely Graph with your frontend to sync content to the backend. Use your editor to edit the front-end site.
NoteThe frontend hosting SLA is directly tied to your CMS SLA, meaning they share the same service level agreement. This ensures consistent performance expectations across both your content management and its delivery.
In addition to CMS, you gain access to the DXP management portal, where you can deploy and manage your frontend while editing and previewing content in CMS.
NoteSee CMS sample (github.com/episerver/content-js-sdk) for information about developing a NextJS frontend for CMS.
Environment
Each backend has its own frontend. (A back end can have multiple front ends, but a front end cannot have multiple back ends.) The front ends are separate sites and are primarily intended to communicate through Optimizely Graph. The content stored in the CMS is transferred to Optimizely Graph, where the corresponding frontend site can read the content.
The following environment variables are available for the build and for the site at runtime. You can add app settings through the Management Portal UI, which are included as variables for the build and at runtime.
OPTIMIZELY_CMS_URLOPTIMIZELY_GRAPH_GATEWAYOPTIMIZELY_GRAPH_SECRETOPTIMIZELY_GRAPH_SINGLE_KEYOPTIMIZELY_GRAPH_APP_KEY
Build the frontend code package
- Clone or build a site according to the instructions at content-js-sdk to create a demo site or a site from scratch.
- Use
yarnornpmto download and manage third-party libraries. Exclude the.nextandnode_modulesfolder from the code package. The install and build steps are executed during deployment to the frontend environment, which generates new folders. - Make sure to include
yarn.lock-filein the code package (package-lock.jsonin case ofnpm). - Zip the source code into a package with name:
<name>.head.app.<version>.zipFor example:site.head.app.1.0.0.zip
The code package must contain a package.json in the root. The build script runs when deploying the site to build content and start script defined in package.json starts the site.
{
  "scripts": {
    "build": "next build",
    "start": "next start",
  },
}
When deploying the package, build runs for each deployment, which builds new static content when the site gets built.
NoteYour deployment package must include exactly one lock file:
package-lock.json(npm), oryarn.lock(yarn)If the lock file is missing, deployment may fail during container preparation with a non-descriptive error such as:
Failed to prepare container in repository 'frontend' on ACR
Generate a lock file without installing dependencies:
npm install --package-lock-onlyDeploy the frontend
To deploy, generate a key in the API tab (see below), and select the environments you intend to deploy to.
Begin with installing EpiCloud to manage deployments of code packages. You can install and import it using this PowerShell (Powershell Module EpiCloud 1.10 or higher):
Install-Module EpiCloud
Import-Module EpiCloud
Then, to deploy the code package:
# Set up variables for the environment to deploy to
$projectId = "projectId"
$clientKey = "clientKey"
$clientSecret = "clientSecret"
$targetEnvironment = "Test1"

# Connect EpiCloud module to prepare for deployment
Connect-EpiCloud -ProjectId $projectId -ClientKey $clientKey -ClientSecret $clientSecret

# Upload code package
$sasUrl = Get-EpiDeploymentPackageLocation
Add-EpiDeploymentPackage -SasUrl $sasUrl -Path
.\site.head.app.1.0.0.zip

# Deploy code package to the front-end environment and complete the deployment
$deployment = Start-EpiDeployment -DeploymentPackage "site.head.app.1.0.0.zip" -TargetEnvironment $targetEnvironment -Wait
$deployment | Complete-EpiDeployment -Wait
DXP management portal features
You should be using Opti ID to sign in. First, check that Opti ID is enabled on your Product access for the account:
- Log into CMS Developer Portal (https://paasportal.episerver.net/).
- Go to CMS > Product Access > Developer Portal (frontend) > Details tab.
- Confirm that Opti ID Enabled is selected.
- Go to Admin Center > Users > {select a user} > Add Product Access to ensure you user has Power User access to the Developer portal (front end) product.
- Click Developer Portal from the top navigation in CMS, or go to the DXP management portal URL, to log in to the DXP management portal and view your frontend hosting project..
Deployment tab
Track the status of deployments and available environments.

-
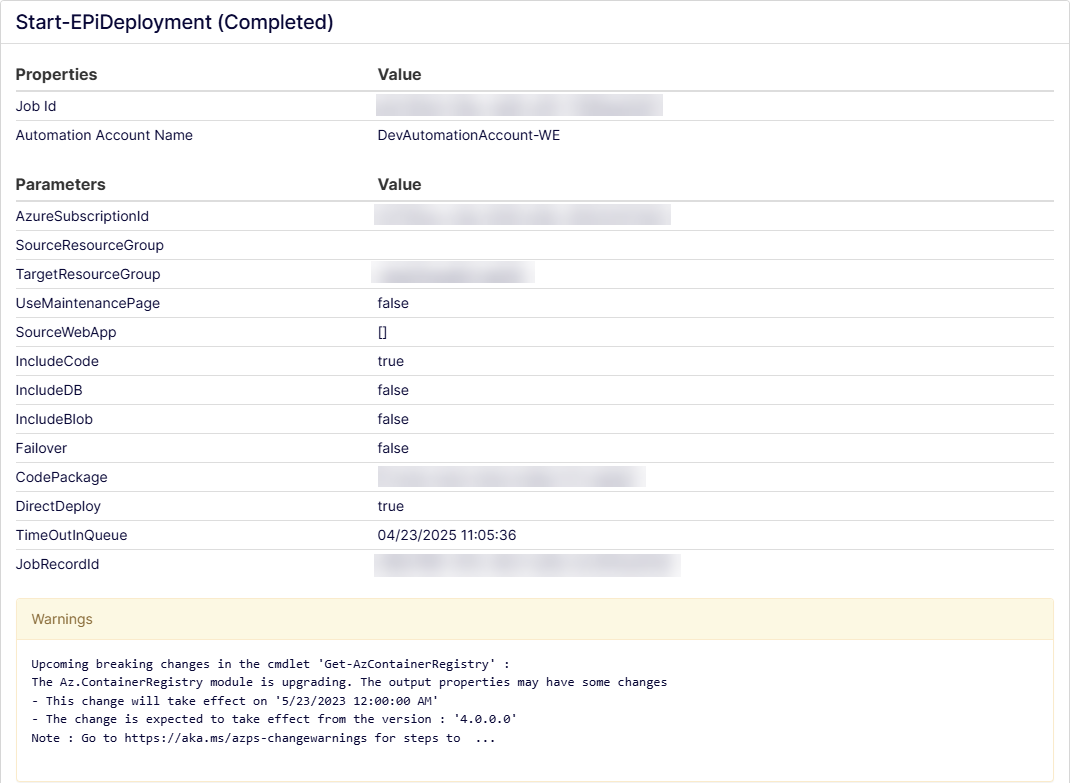
Recent Deployments – Displays deployment. The Start (UTC) column shows when the deployment was run. Click on the link to display the deployment log. You can filter the Recent Deployments list from the Target Environment menu.
-
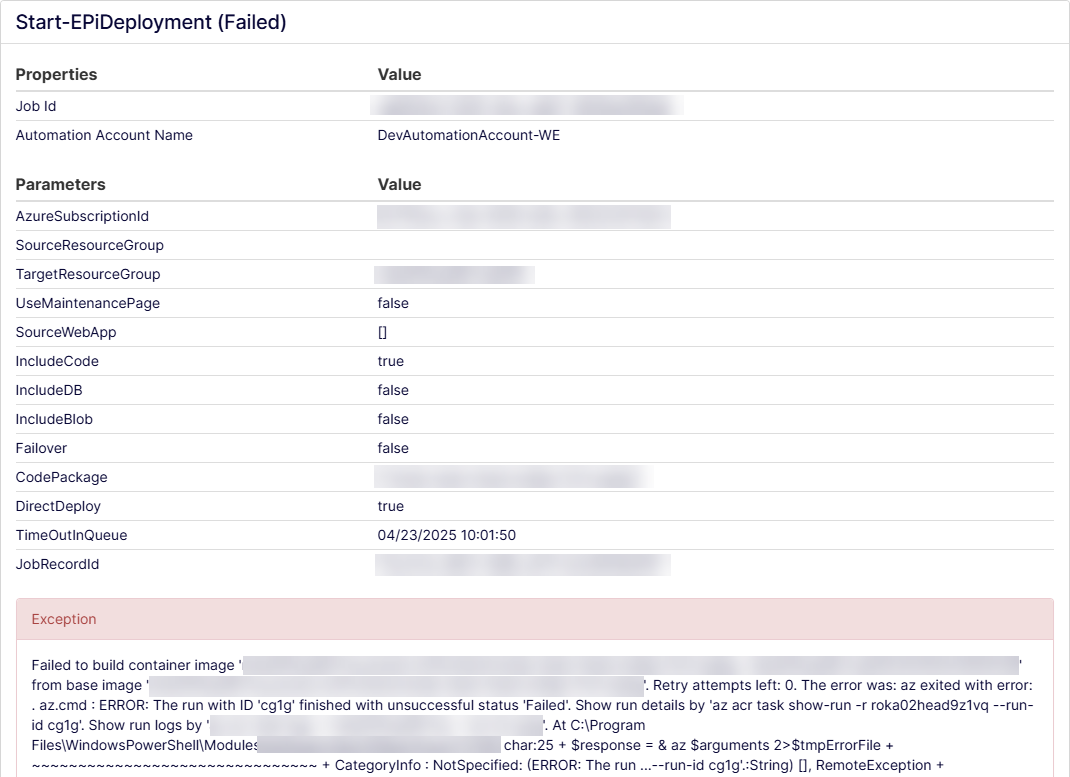
View deployment log – Select a deployment from the Recent Deployments list to display the log for information about the deployment's success or failure. The following image shows a sample successful deployment.
The following image shows a failed deployment.
Troubleshoot tab
Troubleshoot issues encountered by exporting or viewing real-time logs, restarting the app, purging CDN cache, and more.
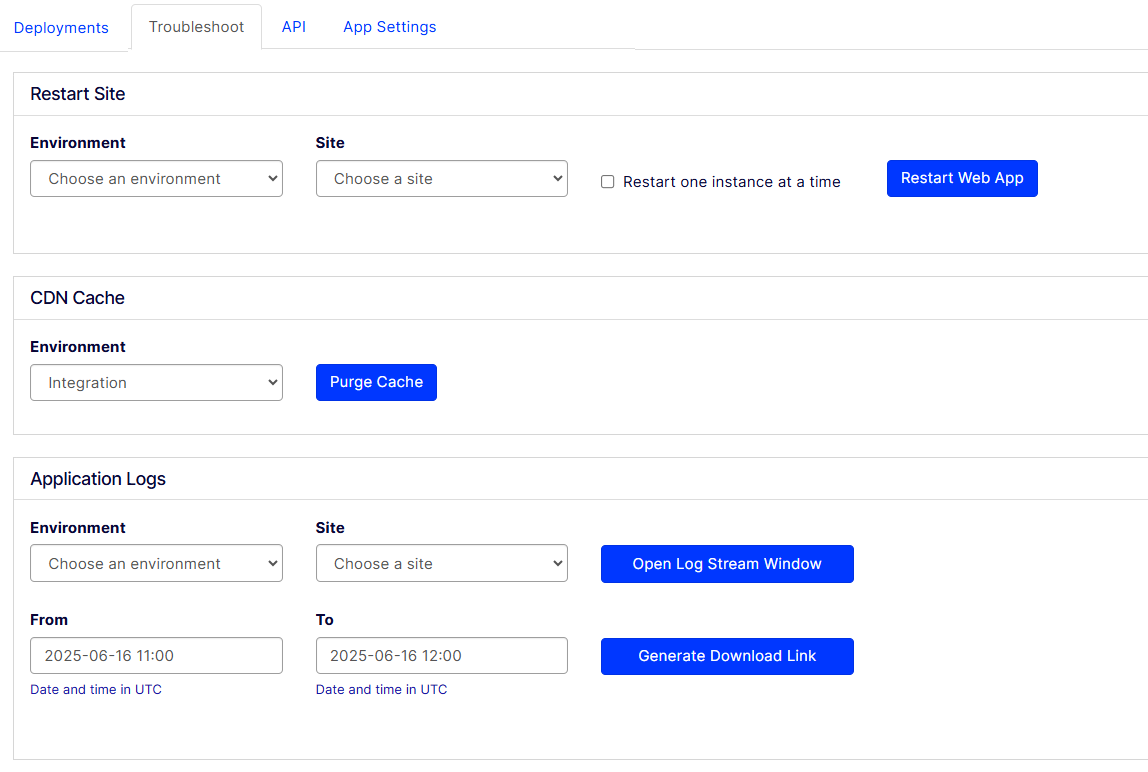
-
Restart site – Select Environment and Site and click Restart Web App. See Restart a web app.
-
CDN Cache – Click Purge Cache to clear the cache if you, for example, had a problem with an image that needs a version number. See Purge CDN cache.
-
Application Logs – Stream live logs from your instance so you can see what actually happens. You can also generate a download link. See Configure logging.
- Open Log Stream Window – Click to stream a live log from your application.
-
Project Security – Select the level of security you want (Medium or I'm under attack). For example, if you experience a distributed denial of service (DDoS) attack or multiple bots attempt to attack your site, select I'm under attack to help mitigate Layer 7 DDoS attacks. Validated users access your website, and suspicious traffic is blocked. See Cloudflare's Under Attack mode article.
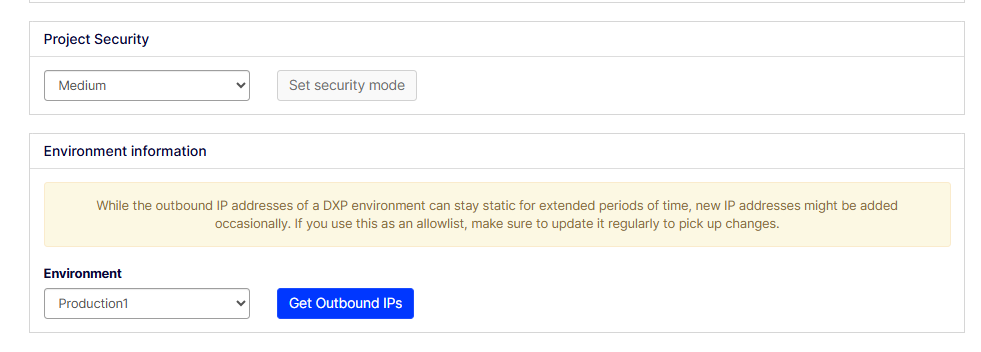
-
Environment information – Select the environment and Click Get Outbound IPs to generate an allow list of outbound IP addresses of the user infrastructure hosting their site.
API tab
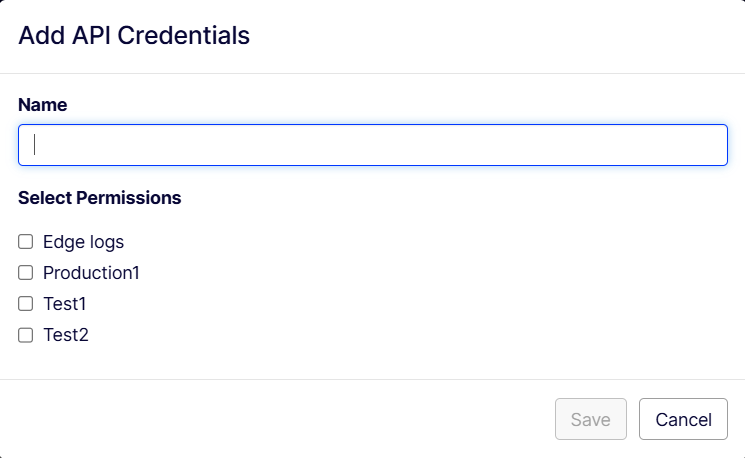
Manage deployment API, Graph, and other credentials. The API tab is where you generate the keys you need to trigger deployments

Click Add API Credentials to generate the keys you need to trigger deployments.
App Settings tab
The App Settings tab lets you configure and control settings related to your application. App Setting and secret names must be 1–127 characters. See Environment variables and app settings in Azure App Service for a list of available app setting environment variables.
Learn more about Deploying to Optimizely Frontend Hosting from our blogs.
Configure Visual Builder
To see your frontend preview in Visual Builder:
- Go to Settings > Import Data to import a content pack or content model into CMS.
- Go to Settings > Applications to create and configure an application in CMS.
- Deploy the frontend source code from the DXP management portal. Make sure your site has preview routes configured.
- Go to Settings > Applications > Select your application > Hostnames > Add hostname to adjust the application configuration in CMS to map domains. Use the hostname from the DXP management portal to map to the app. This enables the site content to show up in the Visual Builder.
- Go to Settings > Scheduled jobs to reindex content in Optimizely Graph.
Updated 19 days ago