Create a starter project
Describes how to create an empty project from which you can build your website in Optimizely Commerce Connect 13.
For better control and understanding, you should start developing in an empty project. However, you can install a sample site like Foundation to explore and use for inspiration. The Optimizely project templates provide a preconfigured website with Optimizely Commerce Connect and a Visual Studio project for development.
Note
If you install a project outside the default location Documents\Visual Studio\Projects, ensure that the current user has write permission to the parent directory to which you are installing. SQL LocalDB does not respect the Administrators group.
Create the project
Customized Commerce is based on two sites: a front-end (CMS) site and a back-end (Commerce Manager) site. Before you continue, follow the 5 steps under Install Commerce to create an empty Commerce Connect project.
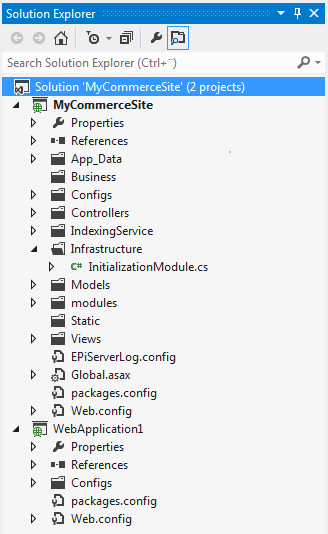
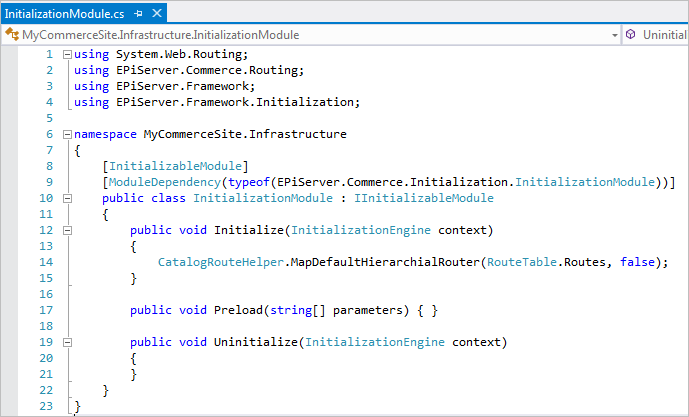
The installed folder structure is similar to a "plain" CMS site except there are two sites, back-end and front-end, and an Infrastructure folder containing InitializationModule.

The initialization module ensures that the catalog structure is added under the site's root level.

Update to the latest
See Install Optimizely to add the latest updates to a Commerce Connect 13 site.
Updated 8 months ago