
Collect data for reports
Describes how to collect and access data for order reports in Optimizely Customized Commerce.
Collected Customized Commerce data can be accessed under Reports in the Optimizely Customized Commerce user interface. The data is made available for export to be consumed by other applications. Data can be collected for purchase orders and subscriptions.

The collect data feature provides raw data for created orders and includes:
- Ability to specify time periods for which you want the data (for example, all orders created in the past 90 days) in the web.config.
- Ability to collect data when an order is placed or an existing order is modified.
- Scheduled jobs that collect the raw data and exports it to a compressed zip file, which contains a csv file with the data.
- The Reports menu, which displays links for downloading exported zip files.
- Permissions that control access to the Reports menu.
Set time range for the report
You determine the time range for the reports inappsettings.json or inside the ConfigureServices method of Startup.cs. The default value is 90 days. You can set a single value or multiple values as in the example below.
//appsettings.json
    {
    "Commerce":{
        "ReportingTimeRangeOptions":{
            "TimeRangesInDays": [30, 60, 90, 180]
            }
        }
    }

    //Startup.cs
    public void ConfigureServices(IServiceCollection services)
    {
        services.Configure<ReportingTimeRangeOptions>(o =>
        {
            o.TimeRangesInDays = new HashSet<int>() { 30, 60, 90, 180 };
        });
    }
Values are numbers of days prior to the date that you run the Collect Report Data Scheduled job. Start and end dates are included in the order dates. For each value, the job creates one corresponding CSV file.
The above example means that the Collect Report Data scheduled job generates 4 CSV files: one for all orders created within the last 30 days, another for orders created within the last 60 days, and so on.
Each CSV file is compressed into a .zip file.
Collect report data
Use a scheduled job
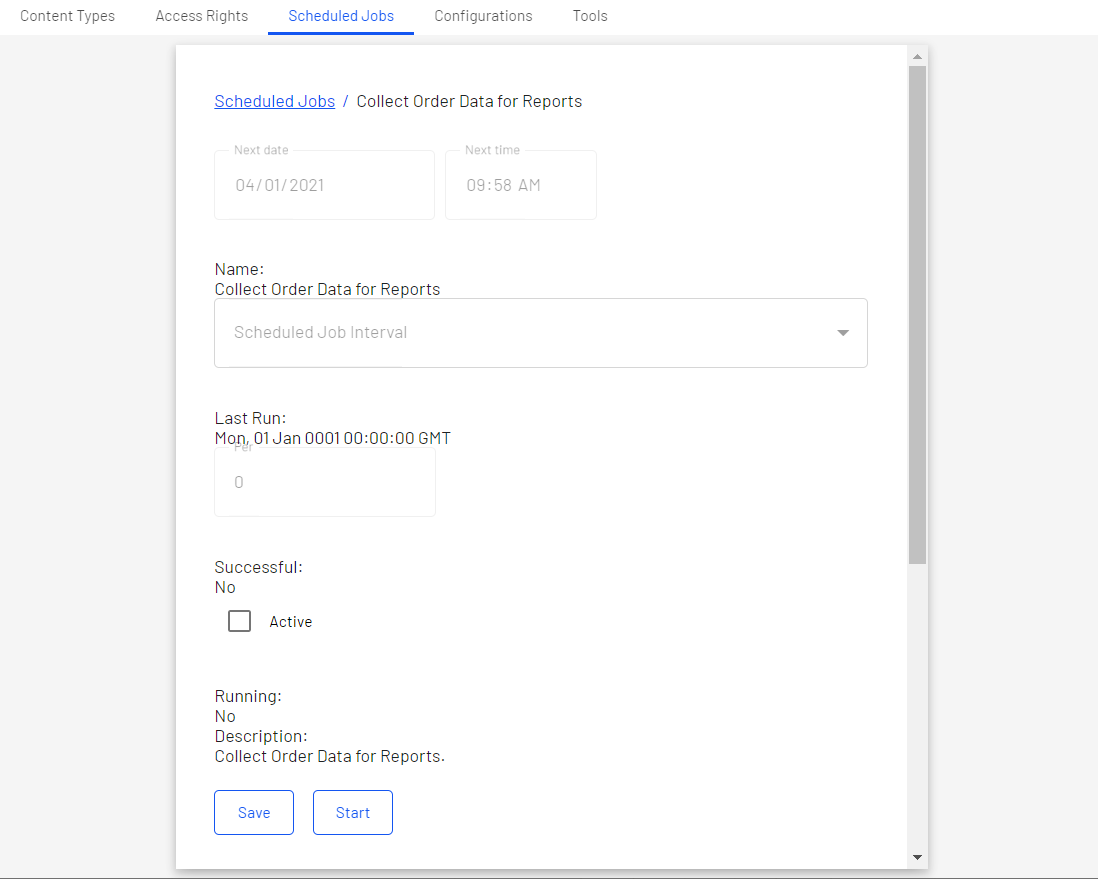
You can use scheduled jobs in the Optimizely Content Management System (CMS) Admin view to collect data for the reports. For example, to collect order data, run the scheduled job Collect Order Data for Reports collects order data in the background.
Like other scheduled jobs, you can run this manually or at predetermined time intervals.
The scheduled job Collect Subscription Data for Reports collects data for subscriptions, see Collecting subscription data.
Use order events
Order data can also be collected whenever an order is placed, or an existing order is modified by adding, updating, or removing line items. By default, this option is disabled. To collect order data when these order events occur, set the ReportingOptions EnableEventDrivenOrderReporting to true inappsettings.json or inside ConfigureServices method of Startup.cs..
//appsettings.json
    {
    "Commerce":{
        "ReportingOptions":{
            "EnableEventDrivenOrderReporting": true
            }
        }
    }


    //Startup.cs
    public void ConfigureServices(IServiceCollection services) {
      services.Configure<ReportingOptions>(o => {
         o.EnableEventDrivenOrderReporting = true;
      });
    }
Permissions for reports
Only users with following roles can access the Reports menu in the Customized Commerce user interface.
- CommerceAdmins
- ReportManagers
Access collected data
After collecting the report data, a link to the exported .zip files appears under Reports. Click the link to download the data.

Data format
Collected report data is presented in a comma-separated value (CSV) format.
Open full-size image in new window

Order data reports
This version provides the following information for each order created during the specified time range in LineItem level.
- LineItemID
- LineItemCode
- DisplayName
- PlacedPrice
- Quantity
- ExtendedPrice
- EntryDiscountAmount: The line item's discount amount
- SalesTax
- Currency
- OrderGroupId
- OrderNumber
- CustomerID
- CustomerName
- MarketId
- OrderCreated: The order creation date
- AdditionalValues - see Add properties to your Order data.
Add properties to order data
If default values do not meet your requirements, you can add properties by overriding the GetAdditionalData() method of ReportingAdditionalDataHandler.
public override IEnumerable<string> GetAdditionalData(ILineItem lineItem, IPurchaseOrder order)
        {
           return new string[] { order.MarketId.Value, order.OrderStatus.ToString(), lineItem.InventoryTrackingStatus.ToString() };
        }
The extension point in DefaultReportingService.ExportOrderDataAsCsv() calls to GetAdditionalData() to assign value for AdditionalValues, then exports AdditionalValues like other default values to the csv file.
Related blog post: Implementing a custom reporting service for Customized Commerce
Updated about 1 year ago