Synchronize content data
How to synchronize custom data sources with Optimizely Graph.
Optimizely Graph provides endpoints that let you index custom data alongside content indexed automatically from Optimizely products, so you can query both sets of data through the same GraphQL API. Use these endpoints when you want to surface data from external systems (for example, a product catalog, a knowledge base, or a third-party CMS) in your Optimizely Graph queries.
Prerequisites
Before you call the synchronization endpoints, confirm the following:
- External content sources are enabled for your account. Contact Optimizely if they are not.
- You have a defined content type schema. Configure the schema by following Sync content types for external data.
- You have a content source ID of four characters or fewer, lowercase, containing only
a-zand0-9. - You have AppKey and Secret credentials with permissions to call the data and types endpoints.
Synchronize content data
Send content data to Optimizely Graph so the data becomes available to GraphQL queries. Use this endpoint after the content type schema is defined.
Note
For information, refer to the Sync content data API reference.
Use the following endpoint to send content data to the Optimizely Graph service:
https://cg.optimizely.com/api/content/v2/data?id=CONTENT_SOURCE_ID
The id query parameter is the ID of the content source. It must match the ID used when defining the content types for the content source.
Important
Content source IDs must be four characters or fewer, lowercase, and contain only
a-zand0-9.
Example
To index data, send it in newline-delimited JSON (NDJSON) format. NDJSON is regular JSON separated by new lines. NDJSON streams large amounts of data without parsing everything as one JSON string.
Prepend each data item to index with a separate action line:
{"index": {"_id": 1, "language_routing": "en" }}
This indicates the action index applies to the next line in the NDJSON stream. The item has an _id of 1 and is in English. Retrieve the _id from the content later using GraphQL.
Important
Each line of data must be paired with an action line. If you omit the action line and have several consecutive data lines, the result is unpredictable and some data lines are not added.
You do not get an error message when sending data like this. You get an error message only if the data cannot be parsed as JSON.
The following example posts information for two products in English to a content source with the ID com (short for commerce):
{    "index": {        "_id": 1,        "language_routing": "en"    }}
{    "Id": "1",    "Name": "Man shoes",    "Quantity": 10,    "size": 43,    "Color": "Black",    "Language": {        "DisplayName": "English",        "Name": "en"    },    "ContentType": [        "Catalog",        "Product"    ], "Status": "Published", "RolesWithReadAccess":"Everyone"}
{    "index": {        "_id": 2,        "language_routing": "en"    }}
{    "Id": "2",    "Name": "Women shoes",    "Quantity": 20,    "size": 38,    "Color": "Pink",    "Language": {        "DisplayName": "English",        "Name": "en"    },    "ContentType": [        "Catalog",        "Product"    ], "Status": "Published", "RolesWithReadAccess": "Everyone"}
The matching curl request sends the same NDJSON payload to the com content source. The og-job-id header is optional and groups related sync requests in the Sync Logs view of the portal. Set it to a unique value per job, or omit it.
curl --location 'https://cg.optimizely.com/api/content/v2/data?id=com' \
--header 'Content-Type: text/plain' \
--header 'og-job-id: JOB_ID_HERE' \
--header 'Authorization: Basic BASE64_ENCODED_CREDENTIALS' \
--data '{    "index": {        "_id": 1,        "language_routing": "en"    }}
{    "Id": "1",    "Name": "Man shoes",    "Quantity": 10,    "size": 43,    "Color": "Black",    "Language": {        "DisplayName": "English",        "Name": "en"    },    "ContentType": [        "Catalog",        "Product"    ],"Status": "Published","RolesWithReadAccess":"Everyone"}
{    "index": {        "_id": 2,        "language_routing": "en"    }}
{    "Id": "2",    "Name": "Women shoes",    "Quantity": 20,    "size": 38,    "Color": "Pink",    "Language": {        "DisplayName": "English",        "Name": "en"    },    "ContentType": [        "Catalog",        "Product"    ],"Status": "Published","RolesWithReadAccess": "Everyone"}'
Authorization
The data and types endpoints require authentication. Pick Basic for quick local testing and epi-hmac for production calls that require request signing.
The supported authorization types are Basic and epi-hmac:
Basic:
- Username – AppKey
- Password – Secret
Note
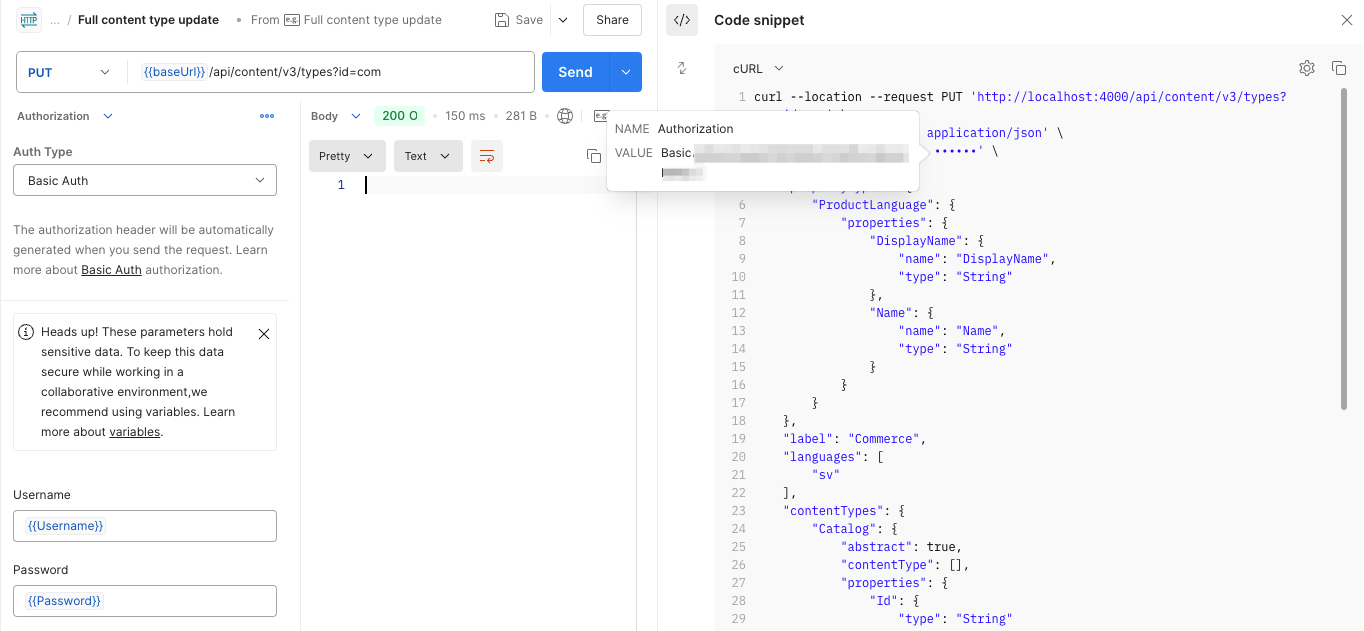
In Postman, get the Basic authentication token by entering the AppKey and Secret as the Username and Password in the Authorization tab. Hover over Code snippet to view the reusable token. The token value starts with
Basic.
epi-hmac – The AppKey and Secret are signed using the HMAC algorithm.
The following Postman pre-request script signs a POST request to update content items:
var crypto = require("crypto-js");
var sdk = require('postman-collection');
// This script uses 2 variables.
//
// EPTSKey
// EPTSSecret
//
var method = pm.request.method;
var key = pm.variables.get("EPTSKey");
var secret = CryptoJS.enc.Base64.parse(pm.variables.get("EPTSSecret"));
var target = new sdk.Url(request.url).getPathWithQuery();
var timestamp = (new Date()).getTime();
var nonce = Math.random().toString(36).substring(7);
var body = "";
if( pm.request.body )
{
    body = pm.request.body.raw;
}
var bodybase64 = crypto.MD5(body).toString(CryptoJS.enc.Base64);
var hmac = crypto.HmacSHA256(key + method + target + timestamp + nonce + bodybase64, secret);
var base64hmac = CryptoJS.enc.Base64.stringify(hmac);
var header = "epi-hmac " + key + ":" + timestamp +":" + nonce + ":" + base64hmac;
pm.request.headers.add(header, "Authorization")
Purge content data
Remove indexed data from a content source when you need to reset the source or remove stale records. The same authorization and content source ID rules apply as for the synchronize endpoint.
Note
For information, refer to the Purge content data API reference.
The purge content data endpoint deletes data from the content source.
Example
The following example deletes all content from a content source with the ID cms for the en and sv languages.
curl --location --request DELETE 'https://cg.optimizely.com/api/content/v2/data?id=cms&languages=en&languages=sv' \
--header 'Authorization: Basic BASE64_ENCODED_CREDENTIALS'
curl --location --request DELETE 'https://cg.optimizely.com/api/content/v2/data?id=cms&languages=en&languages=sv' \
--header 'Authorization: {{authHeader}}'Note
authHeaderis the signed HMAC key pair from the Postman script in the Authorization section.
Updated 3 days ago