Local testing
Use the OCP local testing tool to develop and test your Optimizely Connect Platform (OCP) applications locally before publishing.
The OCP local testing tool provides a complete local development environment for building, testing, and debugging your OCP applications before publishing them to Optimizely Connect Platform (OCP).
You can get the following benefits by using the OCP local testing tool:
- Faster development – Test changes instantly without deploying to the cloud.
- Easy deployment – Deploy changes to the cloud from within the testing tool.
- Full settings form support – Preview and test your app's settings form as it displays in the OCP App Directory.
- App directory – Access the app directory for validation, conditional fields, and dynamic data sources.
- Real-time reloading – Automatically detect and rebuild code changes.
- Interactive testing – Test functions, jobs, and lifecycle hooks through a web interface.
- Detailed logging – View comprehensive logs for debugging.
Prerequisites
- Access to OCP app.
- A working OCP CLI installation.
Launch the testing tool
-
Go to your App Directory containing the following
app.yml:cd my-ocp-app -
Start the local testing tool using OCP CLI:
# Using OCP CLI ocp dev -
Access
http://localhost:3000in your browser, which automatically opens after you start the local testing tool. -
Ensure automatic rebuilds are working. The testing tool detects file changes in your app's
src/folder and rebuilds automatically. -
Test your changes in the web UI.
-
Review logs in the console panel if issues occur.
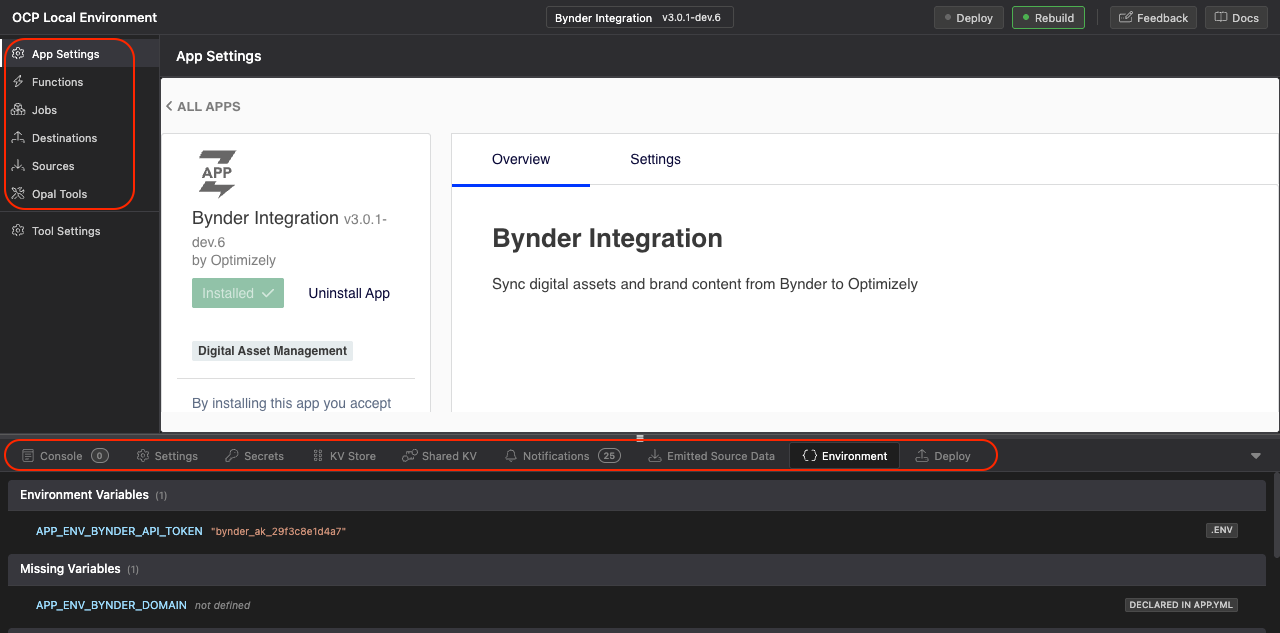
Understand the web interface
The local testing tool provides a web-based interface with the following sections:
- App Settings – Configure and preview your app's settings form.
- Functions – Test webhook and HTTP functions with custom payloads.
- Jobs – Run jobs manually and view execution history.
- Destinations – Test data sync destination configurations.
- Sources – View source schemas.
- Opal Tools – Test HTTP tool calls with custom payloads.
- (Beta) CMS UI Extensions – Render your built UI bundles inside a simulated CMS host and exercise
context.extension.invokeFunction()calls against the local backend. See CMS UI extensions. - Console – View logs from your app. You can filter by source, level, and category.
- Settings – View and edit your app-stored storage.
- Secrets – View and edit your encrypted data.
- KV Store – Access your key-value data.
- Shared KV – Access your shared key-value data.
- Notifications – View your app notifications.
- Environment – View environment variables available to your app.
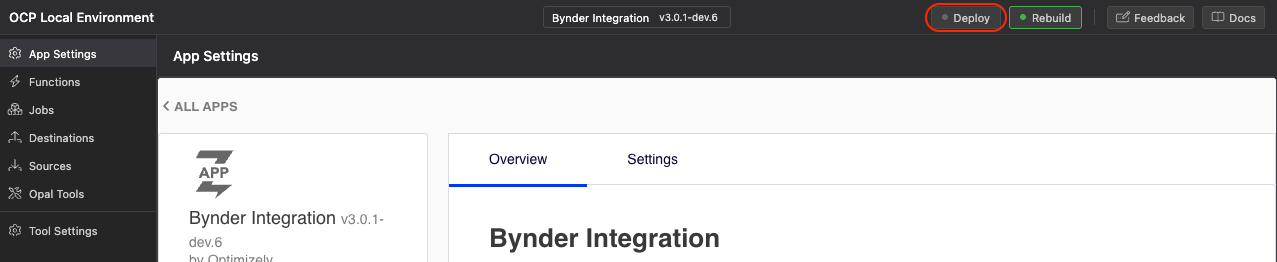
- Deploy – View app deployment status.
Configure the tool
Configuration file
Create a .ocp-local/config.json file in your app directory for advanced configuration. The account configuration populates the account object in the AppContext available to your app code.
{
  "account": {
    "organizationId": "my-org-123",
    "instanceId": "my-instance-456",
    "trackerId": "my-tracker-id"
  }
}
NoteYou should add the
.ocp-localfolder to your.gitignorefile to avoid accidentally committing configuration data to your git repository.
Publishing to OCP
After testing your app in the local testing tool, deploy your app to OCP. This can either be done using the OCP CLI or from within the local testing tool using Deploy.
NoteLocal testing simulates the OCP environment but cannot replicate all production behaviors. Test your app on a development OCP account before releasing. See Feature comparison for details on what must be tested after publishing to OCP.
Feature comparison
This section compares the features supported by the local testing tool with those that can only be tested after publishing your app to OCP.
| Status | Meaning |
|---|---|
| Fully supported | Features can be fully tested locally. |
| Partially supported | Features can partially be tested locally. |
| Not supported | Features can be tested only after publishing to OCP. |
Quick reference
| Feature Category | Local Status | Notes |
|---|---|---|
| Settings Forms | Fully supported | Get full parity with App Directory UI |
| Lifecycle Hooks | Partially supported | See details |
| Functions | Fully supported | Send HTTP requests to your functions and observe the outcome |
| Jobs | Fully supported | Trigger your jobs and observe the result |
| Destinations | Fully supported | Send batch requests to your destination |
| Sources | Fully supported | View source schemas, emit to source via Functions/Jobs |
| Channels | Not supported | |
| Liquid Extensions | Not supported | |
| KV Store | Fully supported | Store and view data |
| Settings Store | Fully supported | Store and view settings |
| Secrets Store | Fully supported | Store and view secrets |
| Jobs API (SDK) | Fully supported | Trigger jobs programmatically |
| Notifications API | Fully supported | Send and evaluate notifications |
| ODP APIs | Fully supported | Send requests to ODP |
| Opal Tools | Fully supported | Send HTTP requests to your Opal Tools |
| (Beta) CMS UI Extensions | Fully supported | Render UI bundles in a simulated CMS host and exercise invokeFunction() against local backend functions |
Lifecycle hooks
| Hook | Status | Notes |
|---|---|---|
onInstall() | Fully supported | |
onUninstall() | Fully supported | |
canUninstall() | Fully supported | |
onUpgrade(fromVersion) | Fully supported | Requires manual version input |
onSettingsForm(section, action, formData) | Fully supported | Requires full form validation |
onFinalizeUpgrade(fromVersion) | Not supported | |
onAfterUpgrade() | Not supported | |
onAuthorizationRequest(section, formData) | Not supported | OAuth flows are not supported |
onAuthorizationGrant(request) | Not supported | OAuth flows are not supported |
Workarounds:
- OAuth testing – Test OAuth logic in isolation using unit tests. Mock the authorization flow responses.
- Upgrade testing – Use
onUpgrade()to test migration logic.onFinalizeUpgradeandonAfterUpgrademust be tested in staging.
Test locally
Test the following features in the OCP local testing tool:
- Settings forms and App Directory UI
- Function HTTP request and response handling
- Opal Tools request and response handling
- CMS UI extension bundles and their
invokeFunction()calls to backend functions (beta) - Basic lifecycle hooks like install, uninstall, or settings forms
- Job logic and state management
- Destination ready or deliver
- View source schema definitions
- All storage operations like KV Store, Settings, Secrets
- Notifications and logging
Test after publishing to OCP
Test the following features after publishing:
- OAuth flows (
onAuthorizationRequestandonAuthorizationGrant) - Full upgrade lifecycle (
onFinalizeUpgradeandonAfterUpgrade) - Cron-scheduled jobs
- Channel operations (all methods)
- Liquid extensions
- Production-like performance and scaling
Updated 7 days ago