Marketo publishing integration
Integrate Marketo publishing with Optimizely Content Marketing Platform (CMP)
Use the Optimizely Content Marketing Platform (CMP) integration with Marketo to author templated emails in CMP, generate a preview, and send the email to Marketo for final scheduling and publishing.
Optimizely provides a starter kit you can install with CMP's Integration Hub. This includes everything required to connect to your Marketo account and move data from CMP to Marketo.
After the initial connection, your administrator must create a mappings document to map values from your CMP content types to your Marketo emails. You should use the starter kit to do this.
Prerequisites
- Marketo email program – Used as a template for the integration.
- Marketo campaign output folder – Holds the output from CMP.
- CMP app – Included in the starter kit.
- CMP webhooks x2 – Included in the starter kit.
- Middleware mapping configurations – A JSON file that maps data between the platforms.
Configure Marketo
The integration uses a Marketo email program for the template and clones it as a new item within your Marketing Activities before adding your CMP data through Marketo tokens. These tokens are variable fields that may be used throughout your design and are mapped (one-to-one) to content-type fields in CMP. The CMP data replaces the tokens when integrated, giving you your final design. An example token is {{my.M2#PRS#Title}}.
Marketo structure
- Go to Marketo > Marketing Activities.
- Create a folder to store the programs and emails you will create.
- Create a program type of Email. When you select the program, notice the ID at the end of the URL, such as
classic/EBP1311A1. In this example, 1311 is the ID. Copy the ID, as you will need it later. - Create an email within the program.
Email design
The email should have the layout you intend to use and any area populated by CMP data replaced with a token. You only need to create a token in Marketo in the email design. Copy the tokens you create, as you will need these later.
Tokens are unique and are mapped to the content type one-to-one. Although you can repeat a token within the email, it only displays the data from a single field of the CMP Content Type.
Example token: {{my.PRS1#text}}
Repeating Components
If the email author can add repeating components to the email in CMP, you must include the relevant tokens to account for the maximum number allowed. You should use a pattern within your tokens.
For example, Optimizely has a product release component with a title, image, and text. The first tokens should follow a structure for where it is being used: the section, the number of its use, and the field.
Example: PRS1#title, PRS1#image, PRS1#text (Product Release Summary first title, image, and text).
If this should repeat in the design, increase the number each time to make your tokens unique:
PRS2#title, PRS2#image, PRS2#text (Product Release Summary second title, image, and text).
PRS3#title, PRS3#image, PRS3#text (Product Release Summary third title, image, and text).
NoteIf you only populate two components in CMP, the email sent to Marketo includes white space you need to remove before sending.

You should format text-based tokens within this design for integrated data to adopt the styling, such as marking the title field as bold.
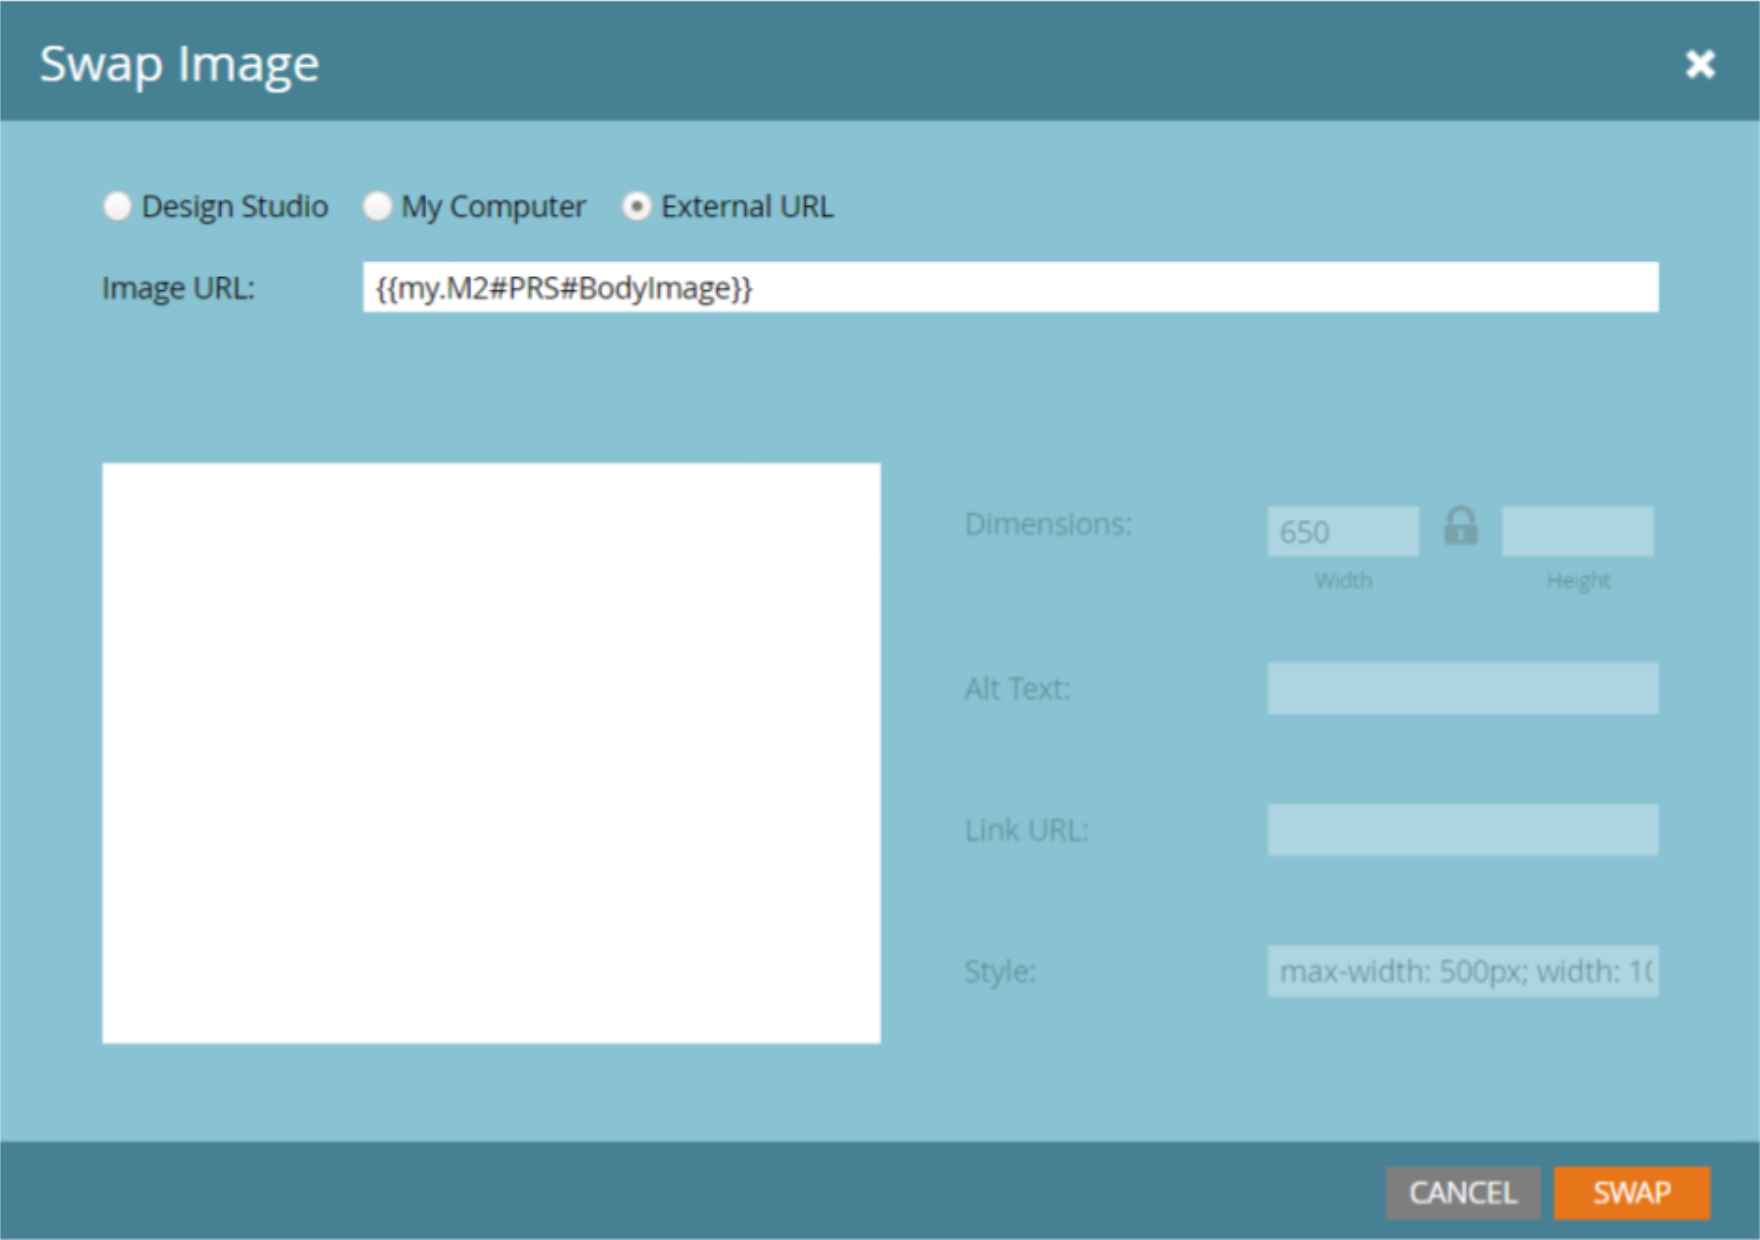
Marketo sets image-based tokens as external URLs. Go to Swap Image to set the token under External URL.
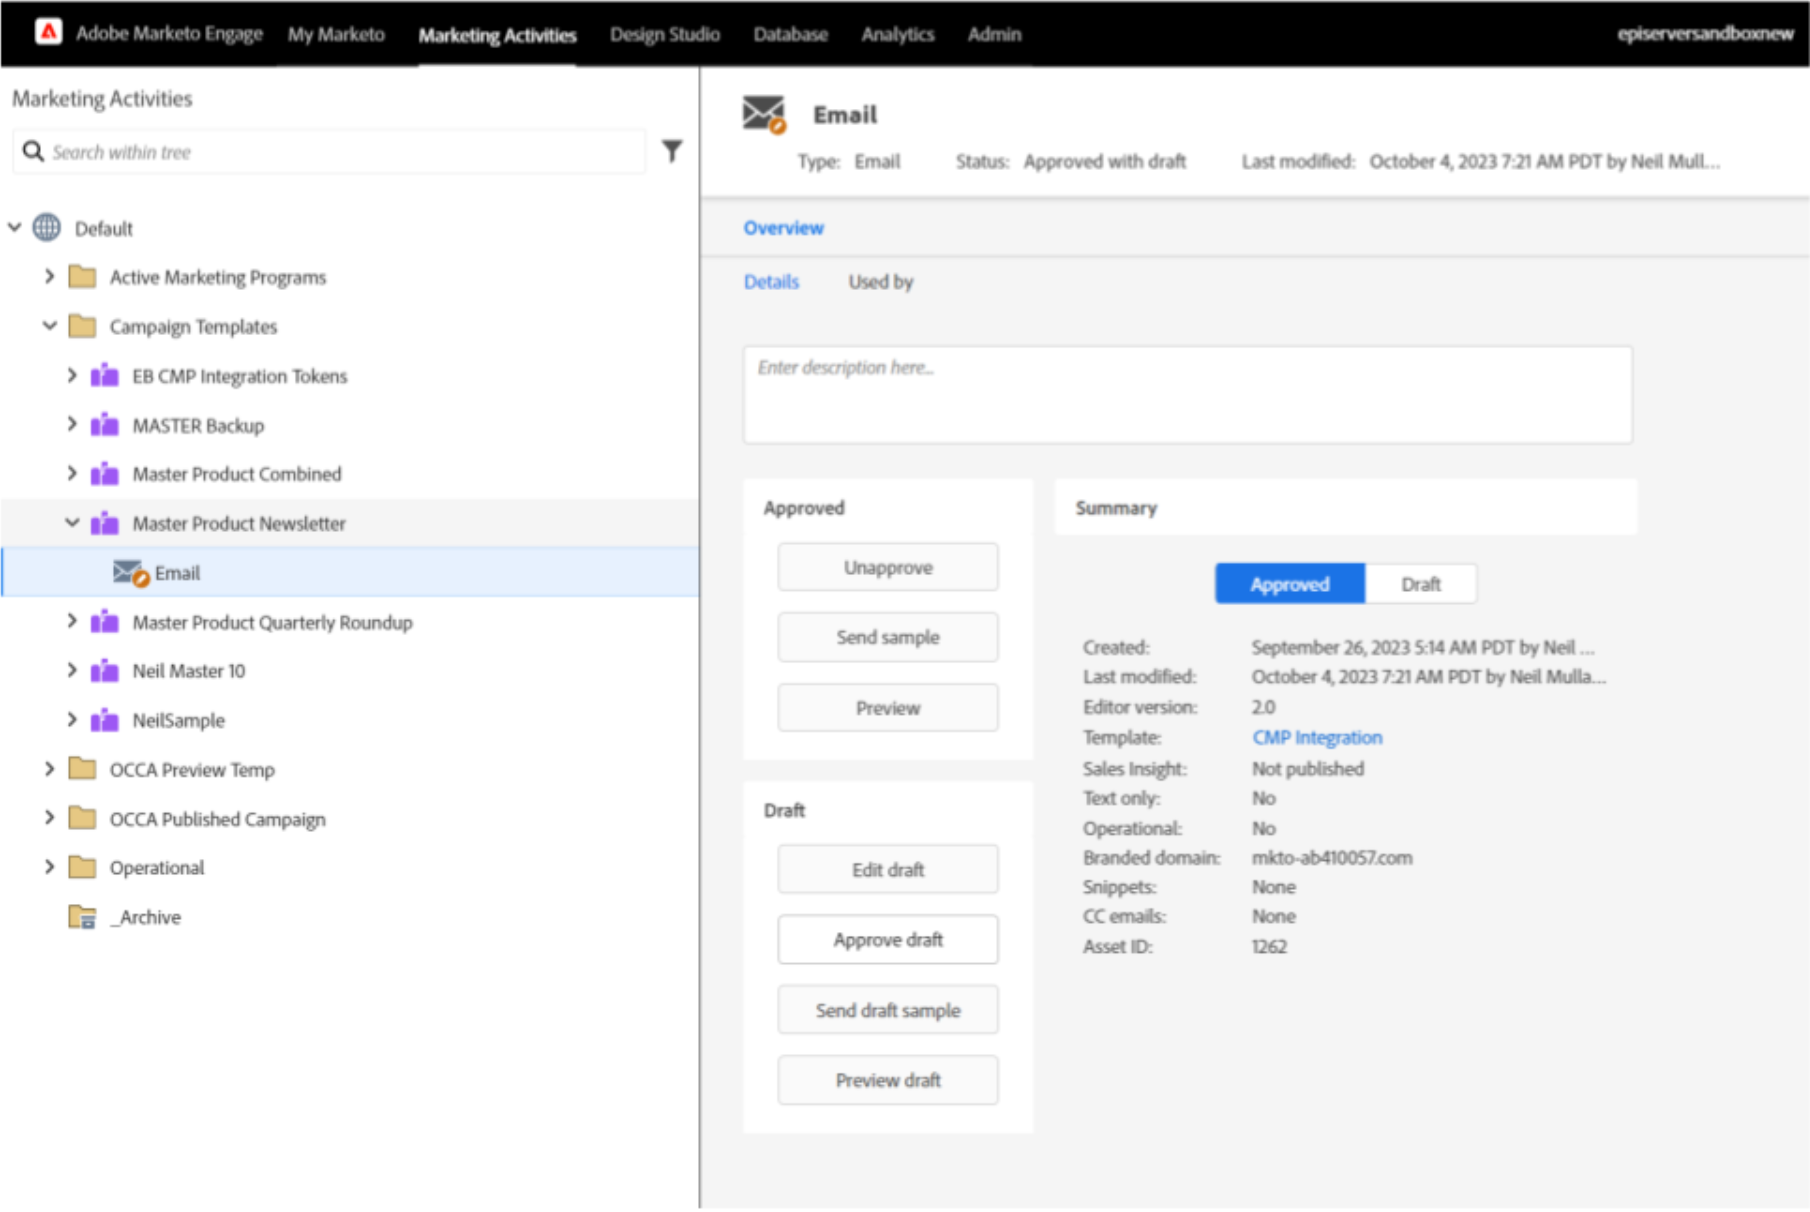
Approve email draft
When you have set up your email, you need to approve the draft. Go to the email under Marketing Activities and click Approve.
API user creation
You must create an API use in Marketo with CRUD permissions for all programs and folders in Marketing Activities. See Integrate Marketo for information.
Copy the Client ID, Client Secret, and Base URL for later.
Configure CMP
You need a system app, two webhooks, and the components and content types for users to author. The system app and webhooks are available in the starter pack. To deploy, go to your avatar > Integrations > Marketo Omnichannel and click Connect Now.
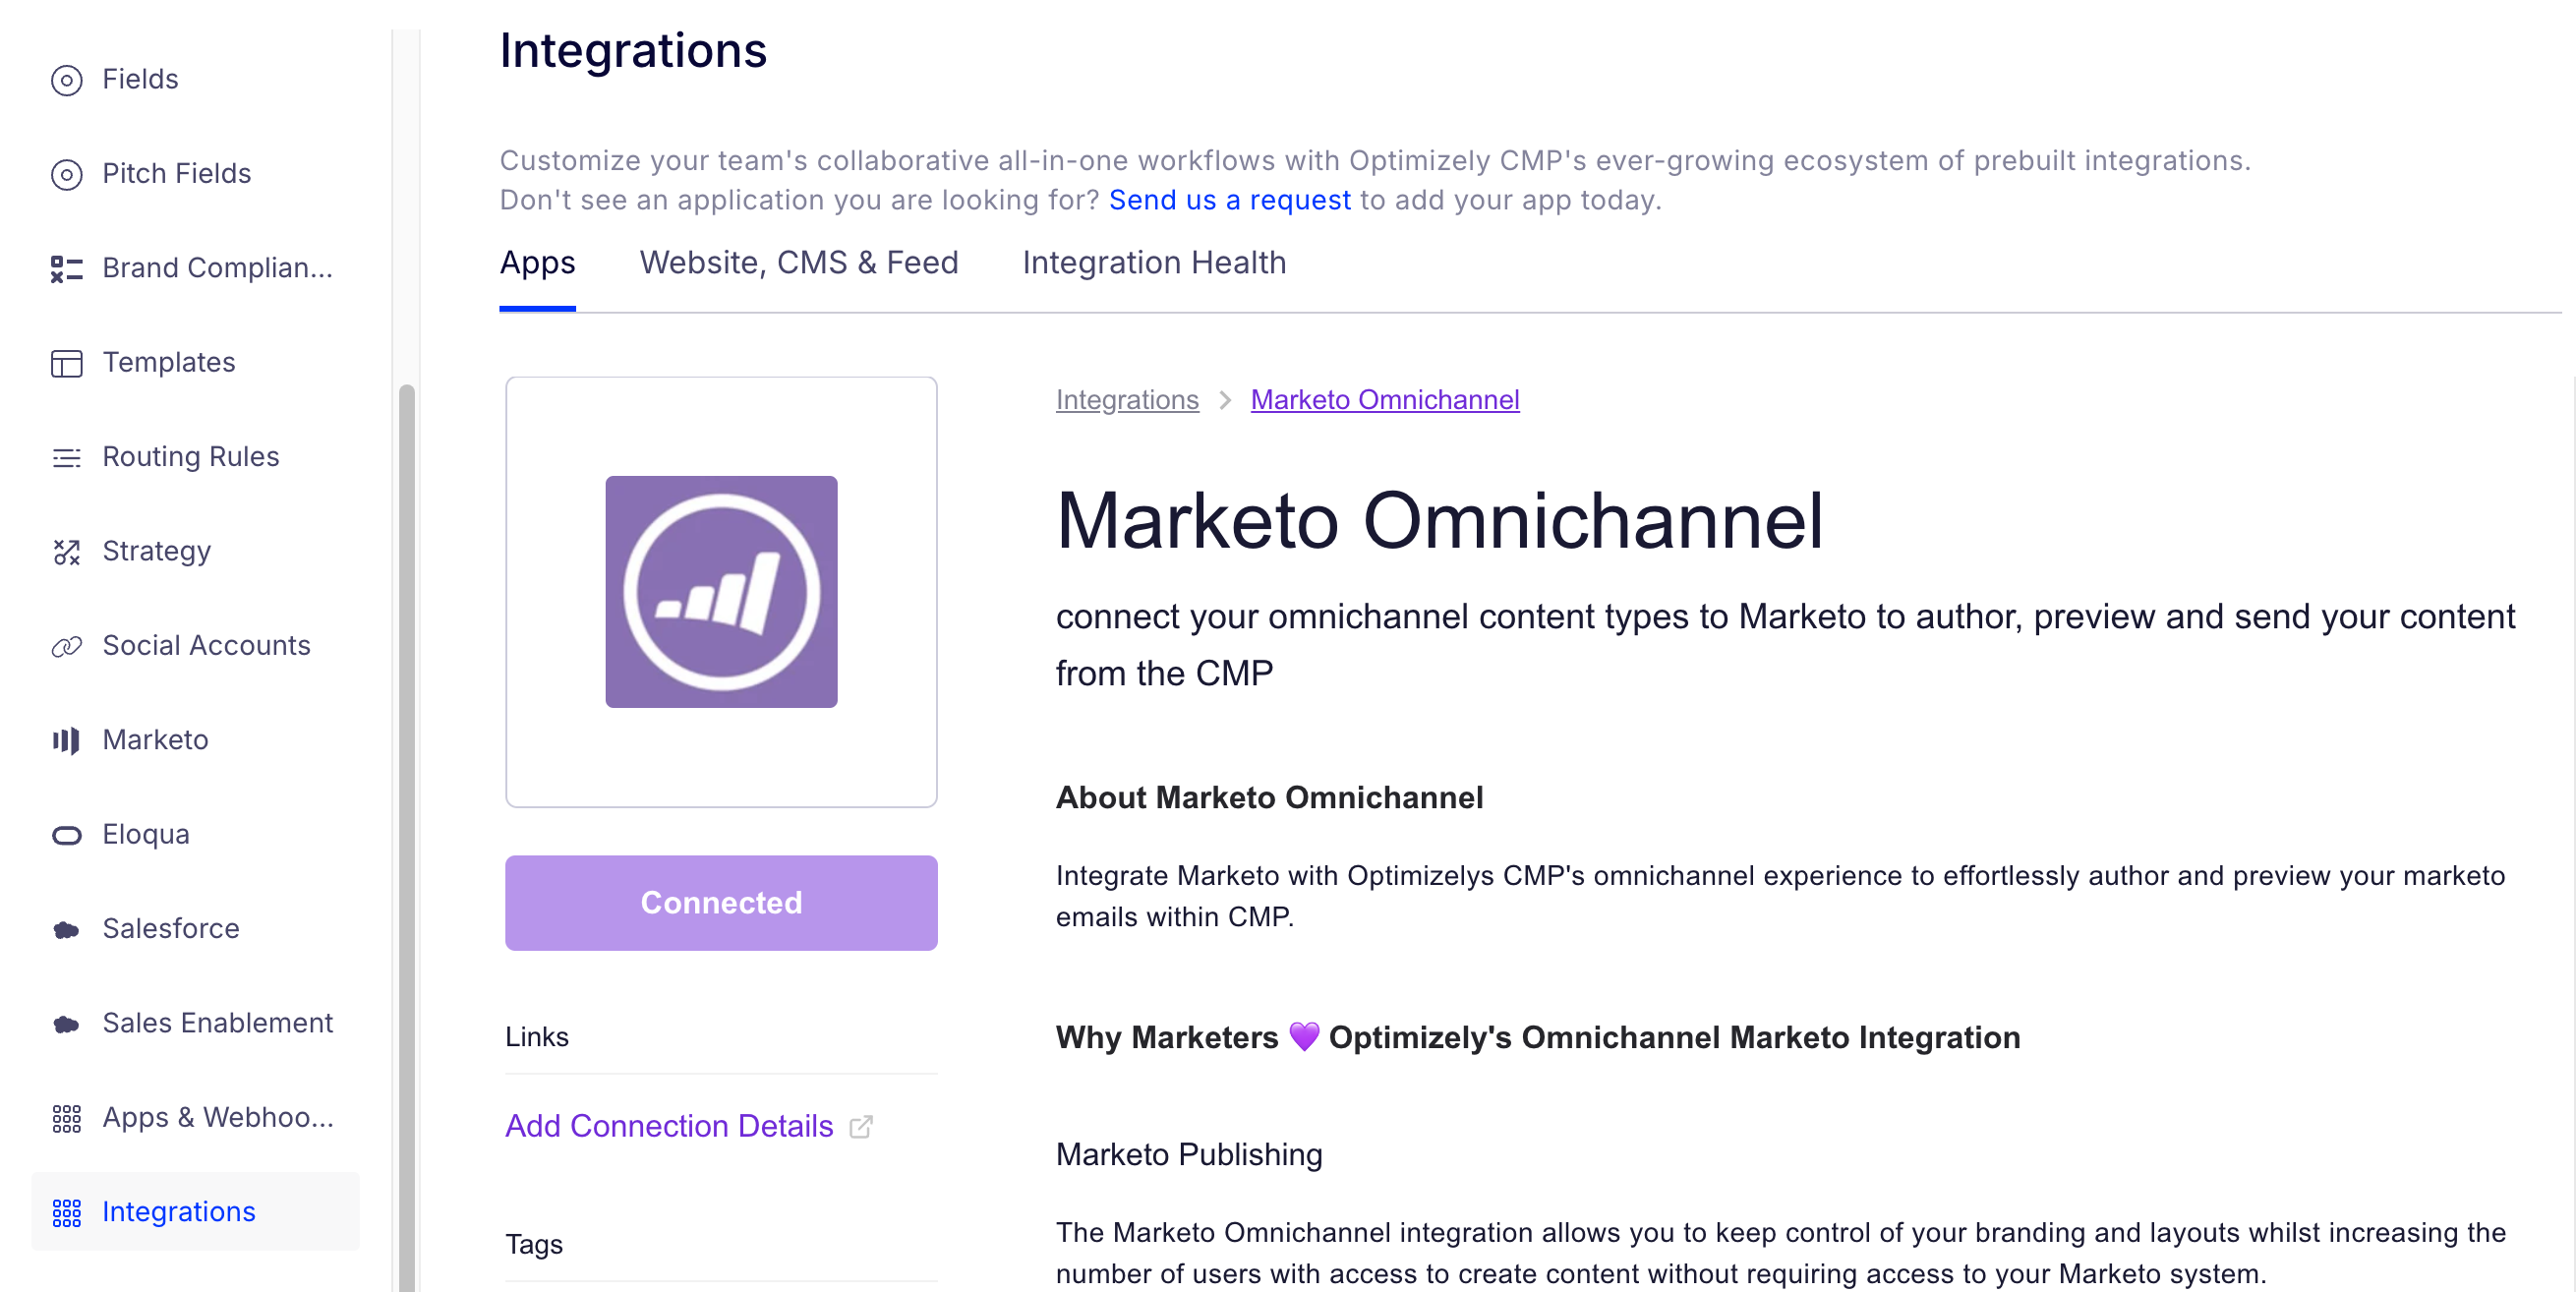
Click Add Connection Details to enter your Marketo API user details, similar to the following list:
- MARKETO_REST_URL – Retrieved from Marketo.
- Example:
MARKETO_REST_URL=https://001-FXX-10X.mktorest.com
- Example:
- MARKETO_CLIENT_ID – Retrieved from Marketo.
- Example:
MARKETO_CLIENT_ID=91a2-87Xadc-jehfF-2fe1ef2
- Example:
- MARKETO_CLIENT_SECRET – Retrieved from Marketo.
- Example:
MARKETO_CLIENT_SECRET=907836491a287dHy
- Example:
- PREVIEW_FOLDER_ID – The Marketo folder ID where previews are created temporarily.
- Example:
PREVIEW_FOLDER_ID=262
- Example:
- PUBLISH_FOLDER_ID – The Marketo folder ID where integrated programs and emails are created.
- Example:
PUBLISH_FOLDER_ID=262
- Example:
- APP_CLIENT_ID – Client ID of the app in CMP.
- Example:
APP_CLIENT_ID=1hR4sg-ditN85
- Example:
- APP_CLIENT_SECRET – Client app secret in CMP.
- Example:
APP_CLIENT_SECRET=j7hdyrU-j48fhndY-Fc33
- Example:
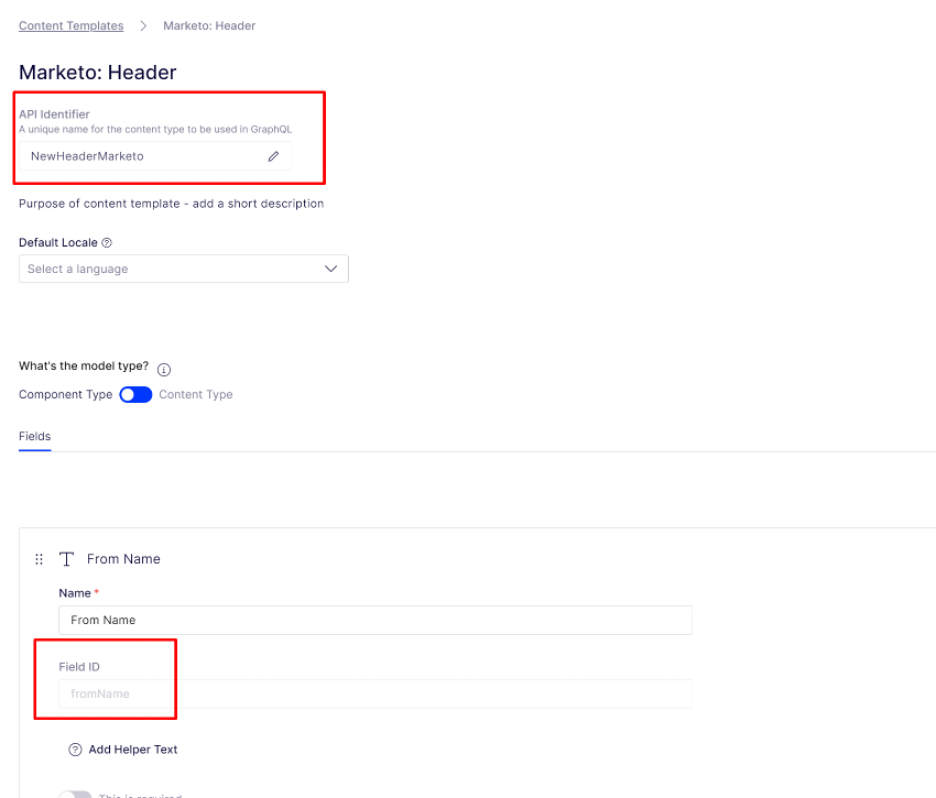
Configure content type and component
Create the content type and components based on your use case and way of working. You must reference the apifieldname in CMP for each type and individual field to map the document between the two platforms. You should store these names in an Excel file to speed up future deployments and to reuse existing mappings.
Mapping document
A mapping file named tokenConfig.js must be stored in the middleware. This tells the integration how to move data from CMP fields to the tokens you added in Marketo. You can paste this file into Configuration > Mappings for the middleware in CMP.
NoteToken names in the mapping document exclude
{{my.}}. This changes{{my.PRS1#text}}toPRS1#text.
The file's structure should include:
-
ProgramId – The ID of the Marketo program to be used as a template. You can enter multiple.
"Marketo: Product Recap Newsletter": { -
Section Name – The API name for the section header in CMP.
"programId": 12004, -
Section Type – If the values are for a single component or list of components.
'_type': 'Component', -
Maps – The individual mapping and data type names between the fields in CMP and the Marketo tokens.
                "map": {
                    "fromName": {
                        "_type": "TextField",
                        "mktoToken": "M1#MH#FromName"
                    },
Example file
The example file below is a simple configuration with two sections: marketoHeader and productReleaseSummary. Because productReleaseSummary is a component that you can add multiple times to your email, it is declared as a list.
If the component permits multiple entries, the mapping document should repeat the list to the maximum number of times set in your content type. For example, max=5 duplicates five times in the JSON file.
{
    "Marketo: Product Recap Newsletter": {
        "programId": 12004,
        "mapping": {
            "marketoHeader": {
                "_type": "Component",
                "map": {
                    "fromName": {
                        "_type": "TextField",
                        "mktoToken": "M1#MH#FromName"
                    },
                    "preheader": {
                        "_type": "TextField",
                        "mktoToken": "M1#MH#Preheader"
                    },
                    "summary": {
                        "_type": "RichTextField",
                        "mktoToken": "M1#MH#Summary"
                    },
                    "bannerImage": {
                        "_type": "AssetField",
                        "mktoToken": "M1#MH#BannerImage"
                    },
                    "subject": {
                        "_type": "TextField",
                        "mktoToken": "M1#MH#Subject"
                    },
                    "fromEmail": {
                        "_type": "TextField",
                        "mktoToken": "M1#MH#FromEmail"
                    }
                }
            },
            "productReleaseSummary": {
                "_type": "Component",
                "behaviour": "List",
                "elements": [
                    {
                        "map": {
                            "overview": {
                                "_type": "TextField",
                                "mktoToken": "M2#PRS#Overview"
                            },
                            "image": {
                                "_type": "AssetField",
                                "mktoToken": "M2#PRS#BodyImage"
                            },
                            "title": {
                                "_type": "TextField",
                                "mktoToken": "M2#PRS#Title"
                            },
                            "featureInformation": {
                                "_type": "RichTextField",
                                "mktoToken": "M2#PRS#FeatInfo"
                            }
                        }
                    },
                    {
                        "map": {
                            "overview": {
                                "_type": "TextField",
                                "mktoToken": "M3#PRS#Overview"
                            },
                            "image": {
                                "_type": "AssetField",
                                "mktoToken": "M3#PRS#BodyImage"
                            },
                            "title": {
                                "_type": "TextField",
                                "mktoToken": "M3#PRS#Title"
                            },
                            "featureInformation": {
                                "_type": "RichTextField",
                                "mktoToken": "M3#PRS#FeatInfo"
                            }
                        }
                    },


                ]
            }
Publish
You can now start authoring your content in Tasks. To publish your content, select Marketo as your publishing channel.
Updated 15 days ago